VsKfz 617 Minenräumer background story :
This bizarre armored tractor was jointly designed by Alkett, Krupp and Mercedes-Benz with a silhouette truly worthy of a machine of science fiction.
The hull of the vehicle was covered in variable shielding between 10-40 mm, with a floor shielding of 40 mm designed to resist the explosion of multiple mines. The floor itself was reinforced by an additional shielding of 20 mm inside the machine for added protection.
The first prototype VsKfz was completed in 1942. The presence of manufacturing plates in the vehicle makes it possible to establish the following conclusions: The manufacturer was Alkett of Berlin and on a plate Nmr VsKfz 617 and Nmr 9537 is engraved. VsKfz 617 refers to a Pzkfw 1 tank and 9537 is the chassis number. That would imply that the turret is of an Ausf. A type but this one has the specific characteristics of an Ausf. B; in particular, the hooks of turret (Traghaken) are located on the top and not the side walls of an Ausf. A. The superstructure possesses a turret of the Pz.Kpfw I tank which is equipped with two 7.92mm MG-34 machine guns ensuring the close defense of the machine.
During these ground displacements, the changes of direction were accomplished by orientation of an aft wheel controlled by a system of chains actuated by a wheel. The mobility of the machine was ensured by two enormous discs on which heavy mobile shoes were fixed which were theoretically resistant to the explosions of all mines. These shoes have a form resembling those which equipped the wheels of heavy pieces of German PAK artillery. The principal role of the vehicle was the detonation of mines to obtain a cleared access path for German infantry and AFVs. This was to be achieved by the exercise of a very strong ground pressure using the nine shoes with permanent ground contact.
During the trial tests, it proved that this vehicle was unsuited to the operations of modern mechanized warfare. Its ponderous weight, slow speed, and its awkward size made the Minenräumer (minesweeper) a large target for opposing artillery and the project was thus abandoned.
In April 1945, during their advance, Soviet troops captured this vehicle in the center of the testing grounds of Kummersdorf. Stored a few times in Dresden, it was then dispatched to the USSR. In 1947, it underwent several evaluation tests. Unfortunately, the bad conditions of storage and the carriage had caused irrevocable damage with the mine clearance system so the tests were limited to a short evaluation of movements instead.
The Alkett VsKfz now resides in the Kubinka Museum outside Moscow.
Technical Data:
Length 6.28 meters (20.724 ft)
Width 3.22 meters (10.626 ft)
Height 2.90 meters (9.57 ft)
Weight 50 tons (100,000 lbs)
Shielding between 10-40 mm (up to 1.6 in)
Armament 2x 7.92mm MG34
Source fromhttp://strangevehicles.greyfalcon.us/Alkett.htm
Some photos of the work in progressDryfit the minesweeper and German figure from Dragon for size comparison
Pre-shade directly on the plastic without primer
Base coat with Mr.Color burnt iron
a layer of Hair spray then top with Mr. Color dark yellow
Scratches & chipping with hair spray technique
AK Dust streaks
Washed with AK white spirit
Done , base color & weathered for the next winter camo
Thin layer of white after a layer of hair spray
AK Winter Streak & AK dark earth pigment + pastel of paris for mud effect, also random highlighted with oil
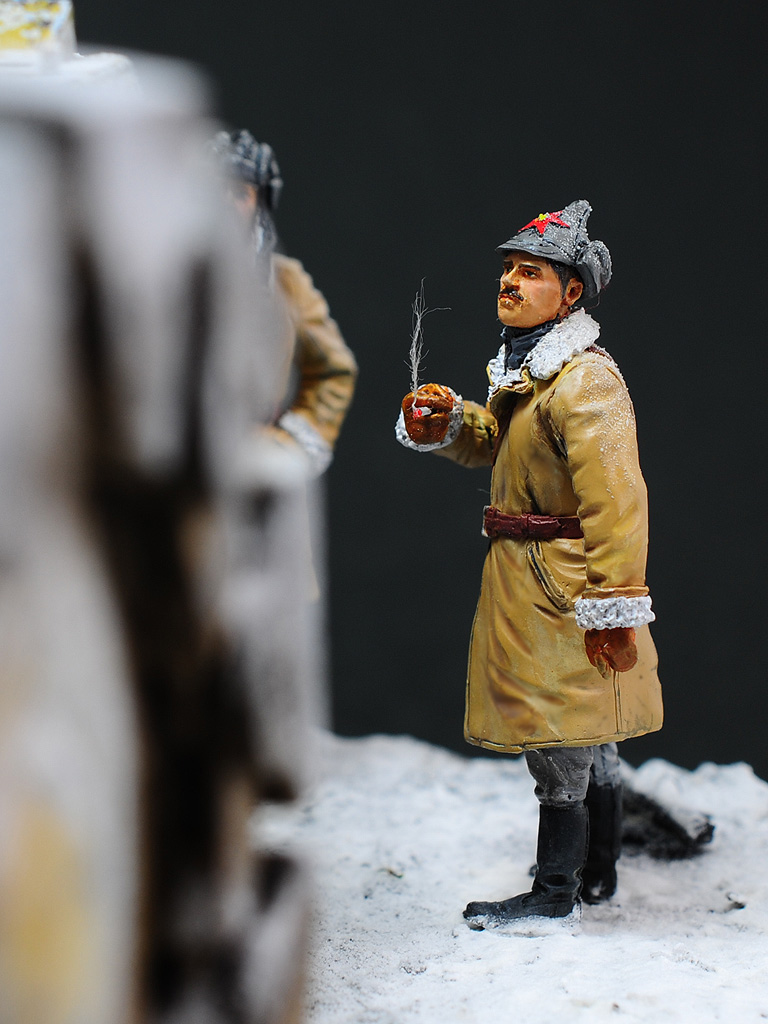
Minor mod on figure to hold a cigarette
Making a quick winter tree
Rearrange the primary branches
Copper wire for the secondary branches , here i separate the wires into several group & solder the end.
Twist & bend into shape ,then set with CA glue.
Make hole , plug in & glued the primary branches
Thanks for viewing ;)